After working with mood rock i had to create an interesting form referencing to bone structures. I personal
had decided to work with the skull as it seemed challenging so working from my previous work and sketches had made an interesting abstract piece a skull like head with bone horns. I had used the same technique that i learnt from the previous lesson of punting two have circles of clay together to keep the air inside to help help support the clay as it being formed. after i formed the skull i had decide to put two holes on top of it to place the horns in so that they would be secured properly I wasn't sure if the skull was going to keep its form as the air was being released as I did it but it was fine.After I secured the horns i had putted it on a clay handle.


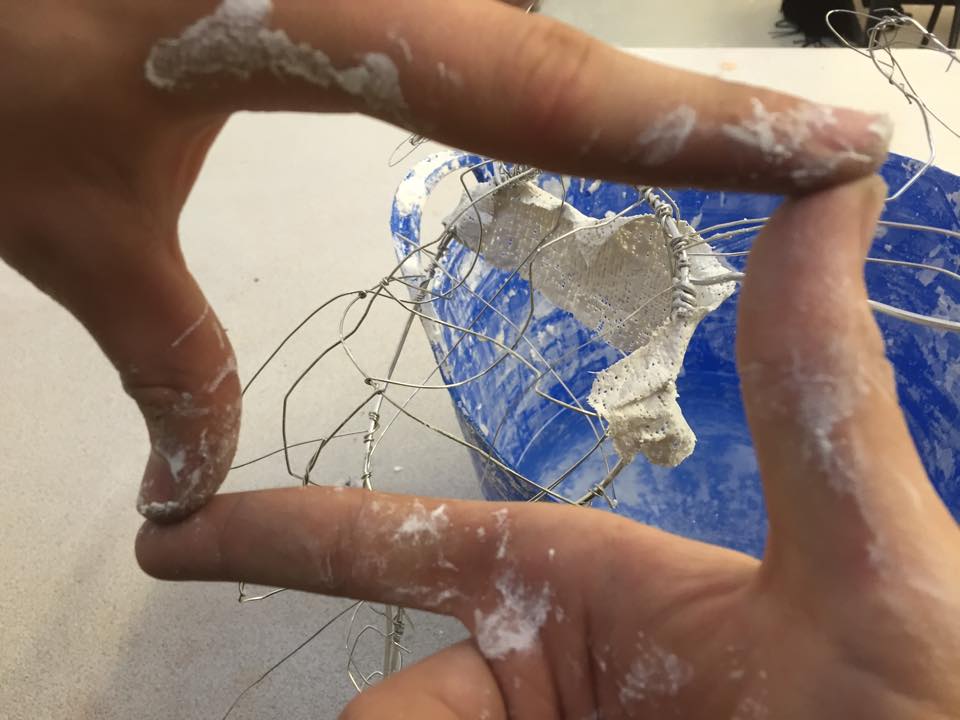
After that I had to transfer it from the clay to mood rock and wire witch wasn't easy but i did my best. I started with putting on the safety equipment goggles to protect my eyes from the wire. I used 3 thicknesses of wire thick one for the main outline thinner one for the details and the thinnest one to fill out the negative space and do some corrections. after i had my form ready all i had to to is to cover it in the plaster bandage
I cut the bandage role up to stripes that could be dipped it the bucked of water and applied to the wire form


